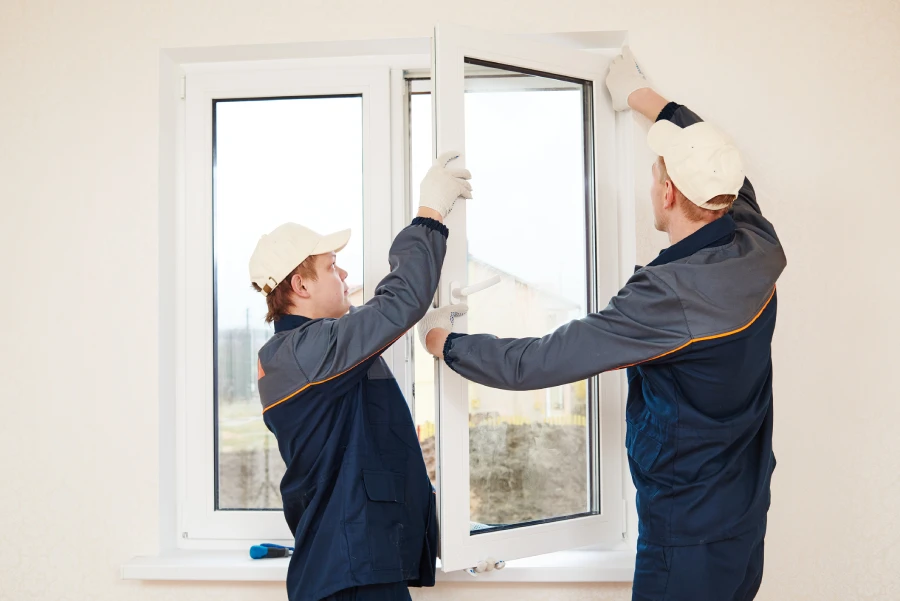
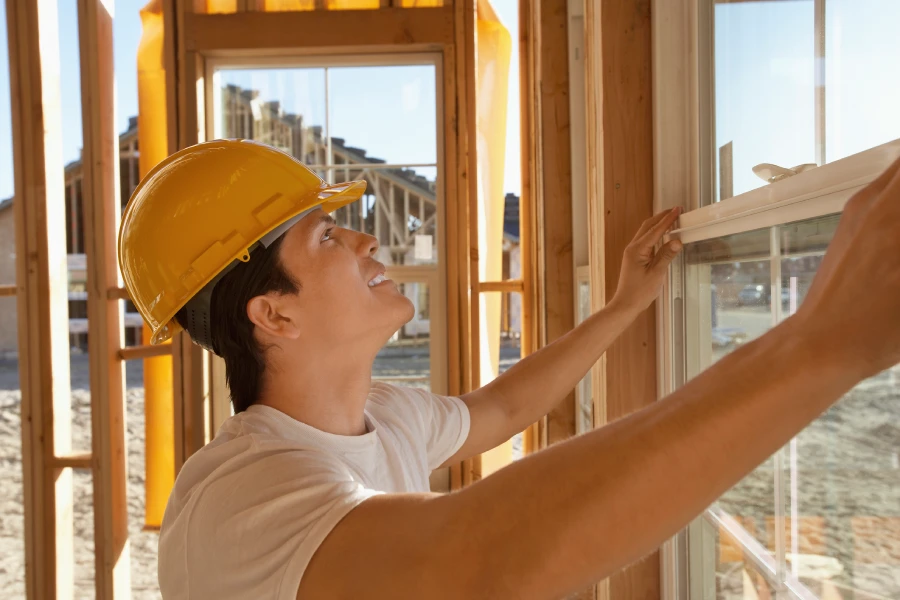
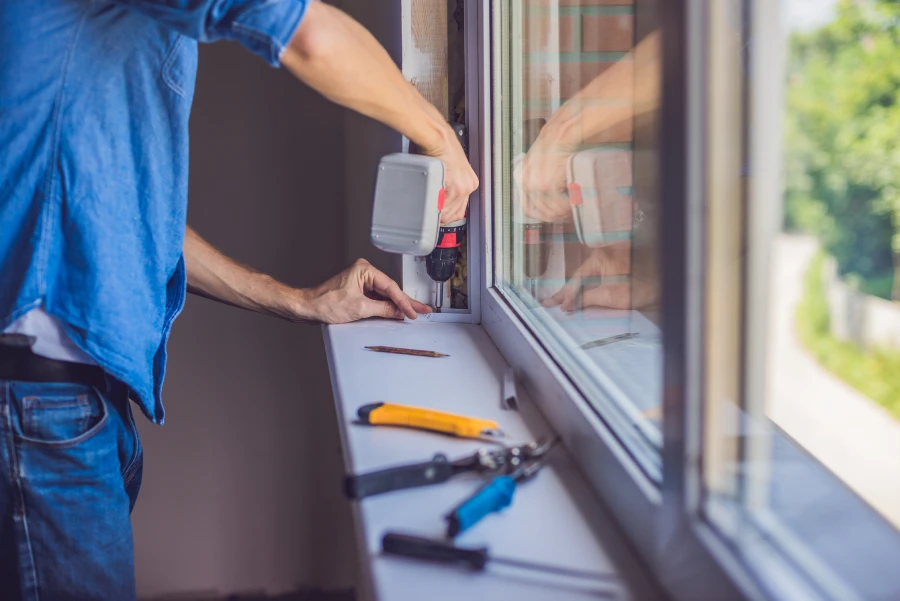
Installing windows is an essential home improvement task that offers multiple benefits. Whether you’re boosting your home’s energy efficiency, enhancing its curb appeal, or simply replacing worn-out windows, mastering window installation will save time and money. This guide will walk you through the necessary steps, tools, and materials to ensure your windows are installed properly, providing durability and longevity. With expert tips sprinkled throughout, you’ll feel confident in tackling window installation yourself or knowing what to expect when hiring a professional.
Replacement Window Types
Before jumping into window installation, selecting the right type of window for your project is crucial. There are several window types available, each serving a different purpose:
- Double-Hung Windows – These windows offer excellent ventilation and are easy to clean since both sashes can move. Ideal for traditional homes, they fit well in most spaces.
- Casement Windows – Opening outward, casement windows provide better ventilation than sliding windows. They’re popular in modern homes and are often chosen for hard-to-reach areas.
- Sliding Windows – Perfect for rooms where space is tight, sliding windows open horizontally. They’re a great option for basements and small bedrooms.
- Bay Windows – These windows create additional space inside a room by extending outward. They add architectural detail and are perfect for living rooms or bedrooms.
Choosing the right window type is a significant part of ensuring that your window installation fits both your aesthetic and functional needs.
Measure the Window Opening
Accurate measurements are the cornerstone of a successful window installation. Incorrect measurements can lead to drafty windows, water leaks, or the need for costly repairs later. Follow these steps carefully:
- Width – Measure the top, middle, and bottom of the window opening, and use the smallest measurement for the window width to ensure a snug fit.
- Height – Measure vertically from the top to the bottom of the window opening at three points: left, center, and right. Use the shortest measurement for height.
- Depth – Don’t forget to measure the depth of the window opening to make sure your new window will fit within the frame, especially if you’re installing windows in an older home.
Double-checking your measurements will help avoid installation issues and ensure that your new windows fit perfectly.
Remove the Existing Window
Removing the existing window is a delicate yet essential part of the installation process. Take care not to damage the window opening or surrounding walls during removal. Follow these steps:
- Prepare the Area – Move any furniture and remove window treatments like blinds, curtains, or shades. Protect the floor and nearby surfaces with drop cloths to avoid scratches or paint damage.
- Remove Sashes and Stops – Use a utility knife or pry bar to carefully remove the sashes. Some older windows may have screws or nails securing them in place.
- Detach the Frame – Using a crowbar, pry the old window frame from the wall. Be cautious when working near the window sill to avoid damaging it, as this can affect the new window installation.
Being careful during the removal process helps prevent damage and sets the stage for a smoother installation process.
Prep and Dry Fit the Window
Before securing your new window, you’ll need to prepare the opening and perform a dry fit. This will ensure everything is aligned properly and the window fits without forcing it into place. Here’s how:
- Inspect the Window Opening – Check for any damage, including water damage or rot. Repair any problems before proceeding with the installation to ensure a stable foundation for your new window.
- Apply Flashing Tape – Apply waterproof flashing tape to the sill and sides of the window opening. This helps prevent water leaks and extends the life of your window installation.
- Dry Fit the Window – Set the window in the opening to check that it fits correctly. Ensure that the window is level, square, and plumb before proceeding with permanent installation.
A proper dry fit will save you from potential mistakes during the final installation and ensure a professional-looking result.
Install the Remodel Window
Now comes the critical part of the process: installing windows securely and efficiently. Proper installation ensures your windows are energy-efficient and watertight. Follow these steps:
- Apply Caulk – Run a bead of exterior-grade caulk along the edges of the window frame where it will sit in the opening. This creates a waterproof barrier and prevents drafts.
- Place and Level the Window – Carefully set the window into the prepared opening. Use a level to ensure the window sits perfectly straight. If necessary, use shims to adjust for any uneven spots.
- Secure the Window – Fasten the window in place with screws or nails, beginning at the top and working your way down. Add shims to keep the window frame secure and stable. Be sure to check for levelness as you go.
Taking the time to install windows properly will ensure a solid fit and long-lasting performance.
Paint and Finish the Window
With the window installation complete, it’s time to finish the project by sealing and painting. This step is essential for both aesthetic purposes and durability. Here’s how to finish your installation:
- Insulate Around the Frame – Use low-expansion foam or fiberglass insulation around the window frame to fill any gaps. This improves energy efficiency and prevents drafts.
- Apply Exterior Caulk – Apply caulk to the exterior edges of the window to create a watertight seal. Use a high-quality, paintable caulk for the best results.
- Paint or Stain – If your window frame is unfinished wood, paint or stain it to match your home’s interior and exterior. This final touch ensures your windows look polished and professional.
A properly finished window installation adds both aesthetic appeal and structural integrity to your home.
Tips and Tricks for Choosing Replacement Windows
Choosing the right replacement windows is critical for maximizing your home’s comfort, energy efficiency, and aesthetics. Here are some extra tips to help you make the best decision:
- Energy Star Rating – Look for windows with the Energy Star label, which guarantees that they meet high standards for energy efficiency.
- Consider Frame Materials – Vinyl, wood, and fiberglass frames offer different advantages in terms of cost, appearance, and insulation. Vinyl windows are budget-friendly, while wood adds warmth and beauty.
- Low-E Coatings – Windows with low-emissivity (Low-E) coatings help reflect heat while allowing natural light in. These windows are ideal for homeowners looking to reduce heating and cooling costs.
- Custom Sizing – For an older home or custom-built house, consider having windows made to fit non-standard window openings.
These tips will guide you in choosing replacement windows that perfectly meet your home’s needs and style.
Shop This Project
Now that you’ve learned how to install windows, it’s time to gather the necessary materials and tools. Here are some recommended products to ensure your project goes smoothly:
Owens Corning R-13 Faced Fiberglass Insulation Roll 15 in. x 32 ft. (1 Roll)
This fiberglass insulation is perfect for filling gaps around newly installed windows. It provides excellent thermal protection and helps soundproof your home, enhancing both comfort and energy efficiency. Don’t skip this important step in your window installation project.
Frequently Asked Questions (FAQs)
Q1: How long does a window installation typically take?
A single window installation can take between 30 minutes to an hour, depending on the window size, the condition of the opening, and whether you’re removing an old window. If multiple windows are being installed, the process will take longer. For larger or more complex projects, such as bay windows, expect installation times to increase accordingly.
Q2: Can I install new windows myself, or should I hire a professional?
While many DIY enthusiasts successfully install windows, the process requires precision and experience. Improper installation can result in energy loss, water damage, and expensive repairs. Hiring a professional ensures the job is done correctly, especially for larger windows or specialty installations like bay or bow windows.
Q3: What are the best types of windows for energy efficiency?
Double-paned windows with low-E coatings are among the most energy-efficient options available. These windows minimize heat transfer, keeping your home cooler in summer and warmer in winter. Additionally, gas-filled panes, like argon or krypton gas, enhance insulation, making them ideal for homes in extreme climates.
Q4: How often should I replace my windows?
On average, windows should be replaced every 15 to 20 years. However, if your windows show signs of wear such as drafts, condensation between panes, or difficulty opening and closing, it might be time to replace them sooner. Energy-efficient windows can also provide significant savings on heating and cooling costs.
Q5: What is the cost of window installation?
The cost of installing windows varies based on factors like window size, type, and whether you’re hiring a professional. On average, homeowners can expect to pay between $300 and $700 per window. Custom windows or energy-efficient upgrades may increase the cost, but they often pay for themselves over time with reduced energy bills.
Installing windows is a rewarding home improvement project that can greatly enhance the comfort, energy efficiency, and aesthetic appeal of your home. By carefully selecting the right replacement windows and following the proper installation steps, you can achieve a flawless finish that lasts for years. Whether you choose to handle the window installation yourself or hire a professional, understanding the process helps ensure you get the best results. Remember to consider energy-efficient options, maintain accurate measurements, and finish with proper insulation and caulking to enjoy long-term benefits. Ready to transform your home with new windows? Start your project today!


